Documentation: Zoom Integration
1. Overview
Integrating your Zoom account with Inzite will enable you to offer Zoom meetings alongside Inzite’s schedulling and booking workflows. You will no longer need to send Zoom meeting links or reminders to your customers.
2. Installation
To offer Zoom meetings via Inzite, you will first need to create an Inzite advisor account. If you do not alreardy have an advisor account, then follow the link to the Sign-up page here and follow the steps to creating the account. This link will also work for users that do not currently have a basic Inzite account.
1. When logged into your Inzite advisor account, navigate to the Zoom Integration page here, or navigate to the Settings section and select Integrations and then click the Zoom tab.
A page similar to the one below will be presented to you:
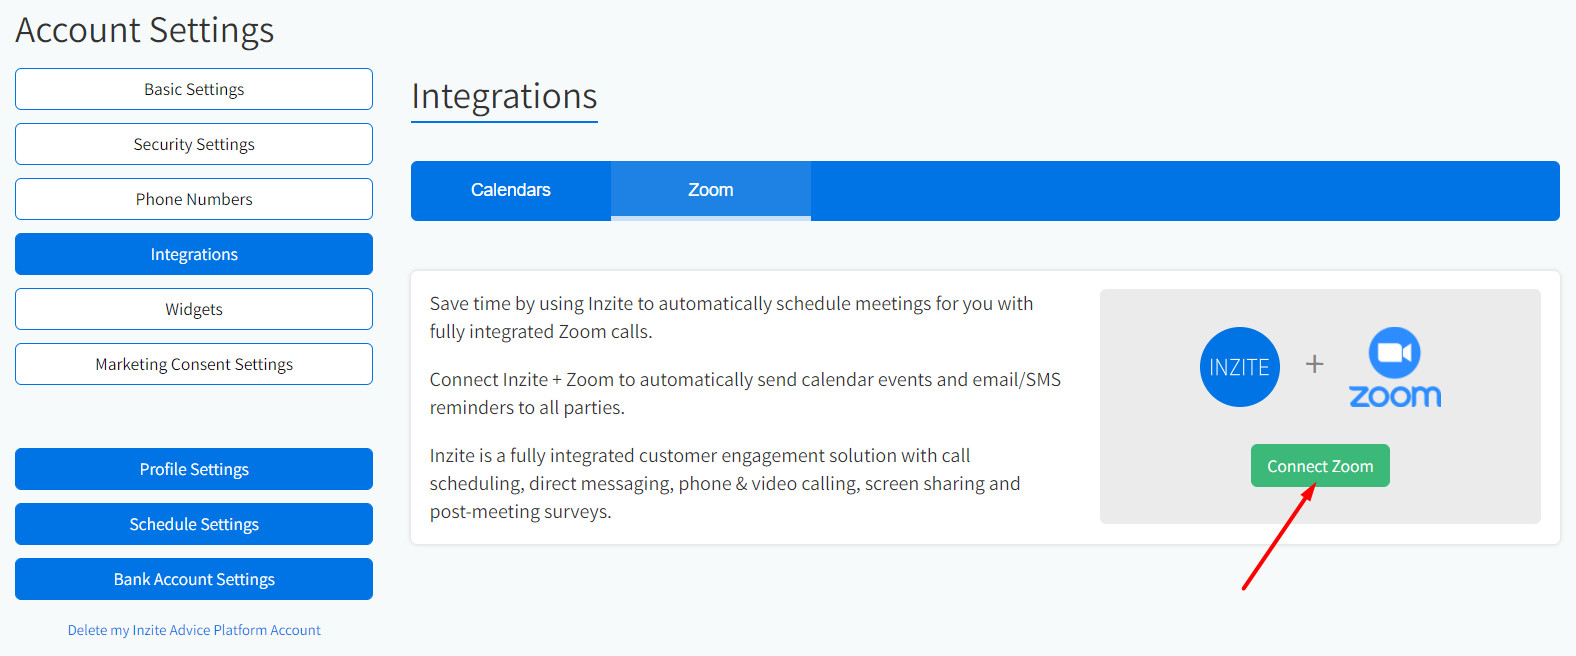
2. Click the Connect Zoom button, as indicated above.
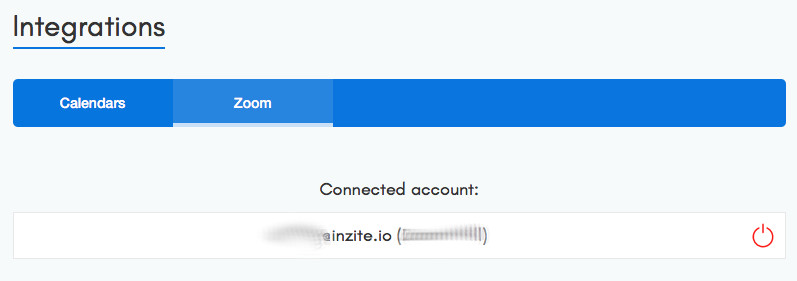
You will then be asked to agree to share some permisions in order to complete the set-up. Once you have agreed and completed these steps, you should see your Zoom account as being connected as follows:
3. Usage
3.1. Offer Zoom meetings by default
To offer Zoom meetings by deault, then follow the steps below:
1. Navigate to your Edit Profile page, or click here.
2. Select the Call Management tab. You should see call options similar to the below.
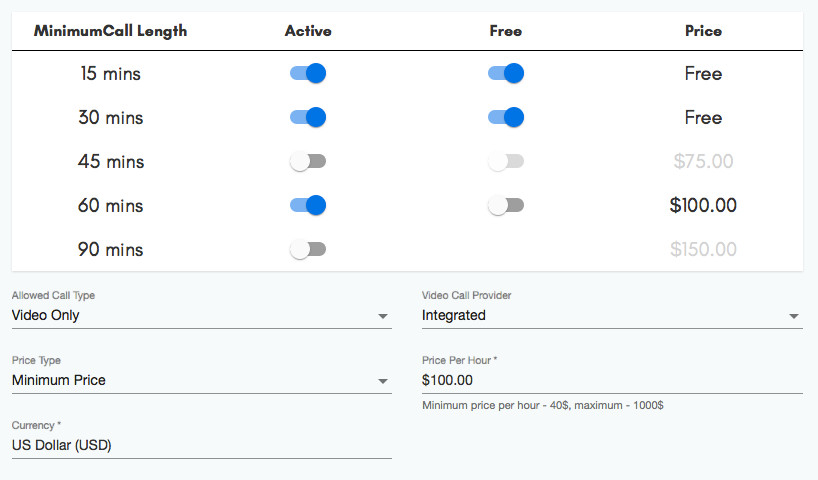
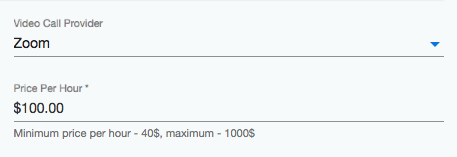
3. Select the Video Call Provider drop-down and select Zoom.
4. Click the Save Chages button at the top of the screen (below your profile banner).
3.2. Set your meeting availability
To ensure you're only offering booking slots where you are normally available (your working hours), make sure you populate your general availability.
You can additionally integrate external Google and Outlook calendars, enabling you to offer true live availability, based on both your working hours (general availability) and automatically blocking out time where you have busy calendar events.
1. Navigate to your Edit Profile page, or click here.
2. Ensure the General Availability tab is selected.
3. Choose either Week or Full. We recommend choosing Week, which is a rolling 7-day calendar. If you wish to have unique availability for each category, then enable the ‘Schedule per Category’ option.

4) Select the time-slots that you wish to offer meeting availability. If you have enabled Schedule per Category, then do this for each category in the drop-down.
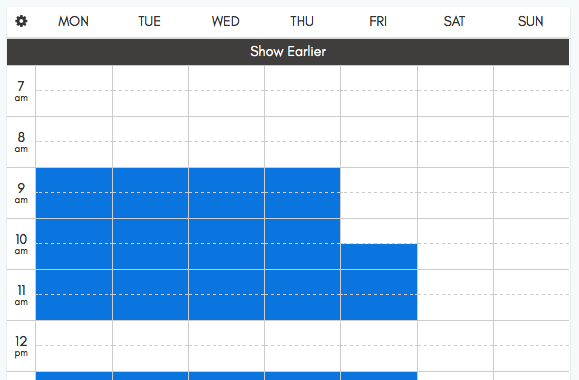
5) Click the Save Changes button at the top of the page.
6) If you wish to integrate an external calendar, you can do this here. Your offered availability will then additionaly block out any external busy events from your selected calendars. If you select full syncronisation, then accepted Inzite meetings will automatically appear in your external calendar(s) too, These events will include a direct link to your Zoom meeting. Inzite will send this link to other parties, so there is no need for you to do this manually,
7) To check your combined availability, you can do via your Calendar page here.
3.3. Share your booking page
Sharing your booking calendar with your customers is simple.
1) Navigate to your Edit Profile page here.
2) Click the View Profile button via the top banner.
3) Click the Booking Preview button in the summary panel:
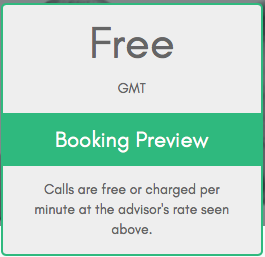
4) Copy the link (URL) from your brower (eg. https://inzite.com/book/joe) and send this to your customers.
5) You can also check that you are happy with your external booking page from here.
3.4. Manage your bookings
To manage your bookings and initiate your Zoom meeting, use your Bookings page. From here you can see all your upcoming and completed bookings, You are also able to accept, reschedule, cancel and initiate meetings from here.
You will recieve call reminders via email (and optionally SMS). If you have integrated an external calendar, you will also see the booking URL in the calendar entry.
1) Navigate to your Bookings page here.
2) You will see a list of your current bookings.

3) Click the ‘Join Call Room’ button on the appropriate booking entry to automatically launch the Zoom meeting. Your clients will have the same option availabile to them in this section.
4. Uninstallation
To unistall Zoom and deauthorise from your Inzite account, please follow either of the steps below.
4.1. Via your Zoom Account
1. Login to your Zoom account and naviage to the Zoom App Marketplace.
2. Click Manage > Installed Apps or search for the Inzite app.
3. Click the Inzite app.
4. Click Uninstall.
4.2. Via your Inzite Account
1. Login to your Inzite account and navigate to Settings.
2. Click Integrations > Zoom or use this link.
3. Click the power icon to the right of your connected account listing.
4. Confirm the steps to uninstall.